如何用Photoshop制作汽车射灯效果 Photoshop制作汽车射灯效果教程
作者:本站作者 人气:在Photoshop中,我们可以制作汽车射灯效果其实没那么难操作,下面小编就为大家详细的介绍一下,大家感兴趣的话就一起来了解下吧!
Photoshop制作汽车射灯效果的方法教程
步骤一:制作一个呈现图层溶解模式特效的普通图层。
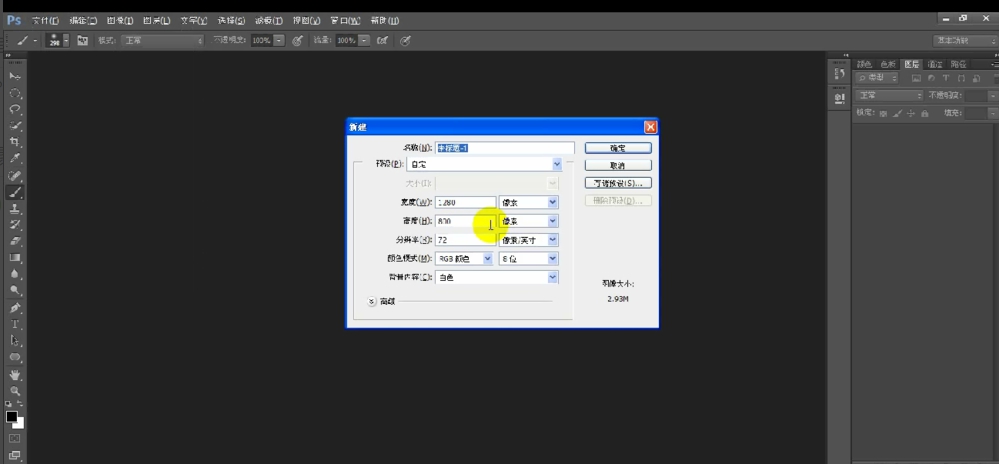
①打开photoshop软件,新建一个宽1280像素,高800像素的空白文件,填充为黑色背景。
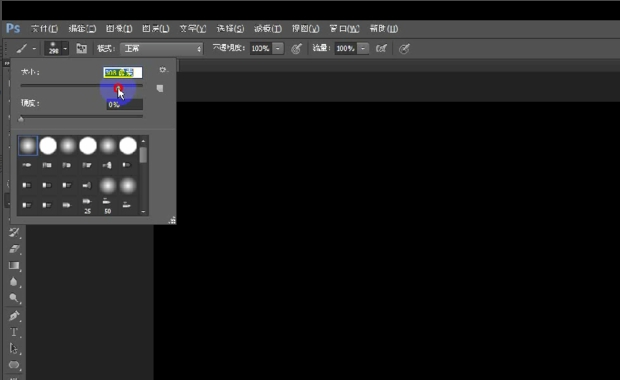
②创建一个新的图层,选择画笔工具中的柔边画笔(首位第一个),将硬度调为0%,大小设置为280。
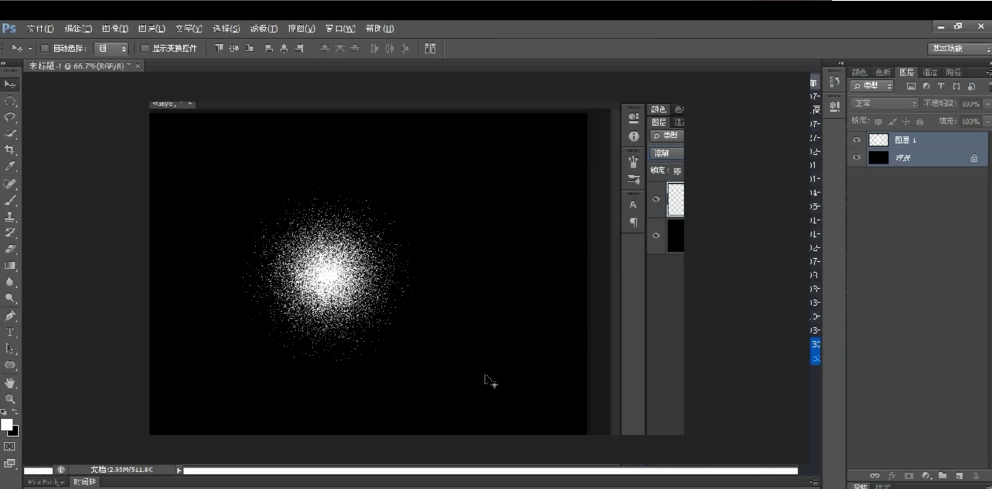
③在图层1的画面中间点一个点,形成一个外边缘朦胧的白色圆形。选择图层1与背景图层,在移动工具中执行“水平对齐”、“垂直对齐”操作。

④将图层1选择溶解模式,图层出现特殊的溶解效果,呈现点状扩散特效。
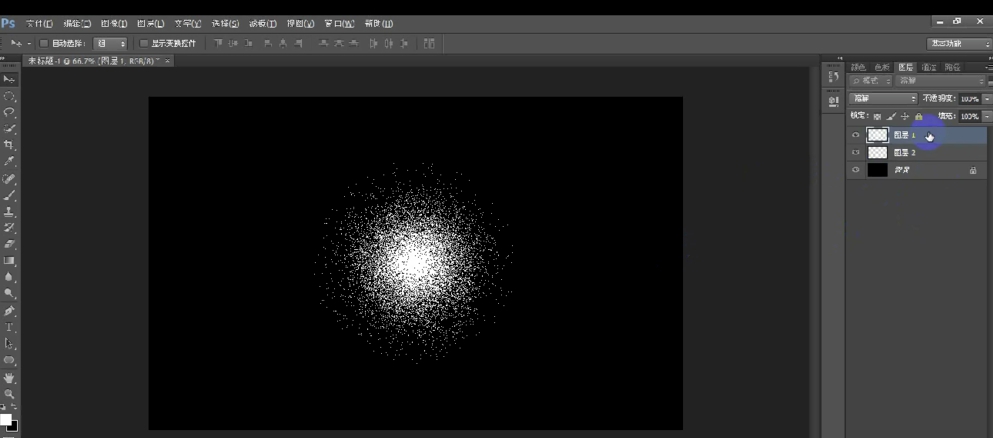
⑤新建一个图层“图层2”,将其调整到“图层1”的下方,执行“图层”——“向下合并”命令(快捷键Ctrl+E),这样图层1并入到图层2中,新合并的图层为正常模式。
步骤二、运用滤镜命令将图层调整为射灯光照效果。
①在获得正常模式下点扩散效果的图层后,执行“滤镜”——“模糊”——“径向模糊”命令,弹出径向模糊命令框。
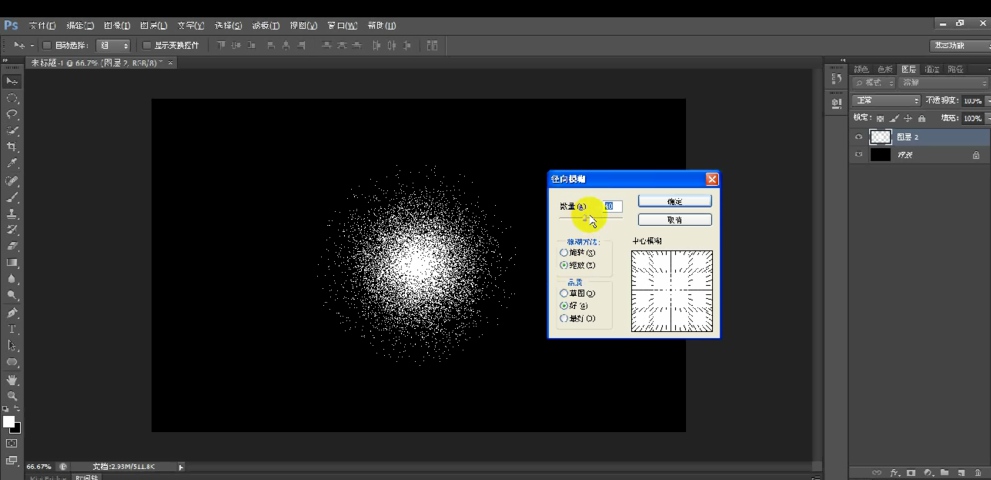
②选择“缩放”模式,将“数量”调节到100,点击确定,即可获得一个放射的光源感觉。
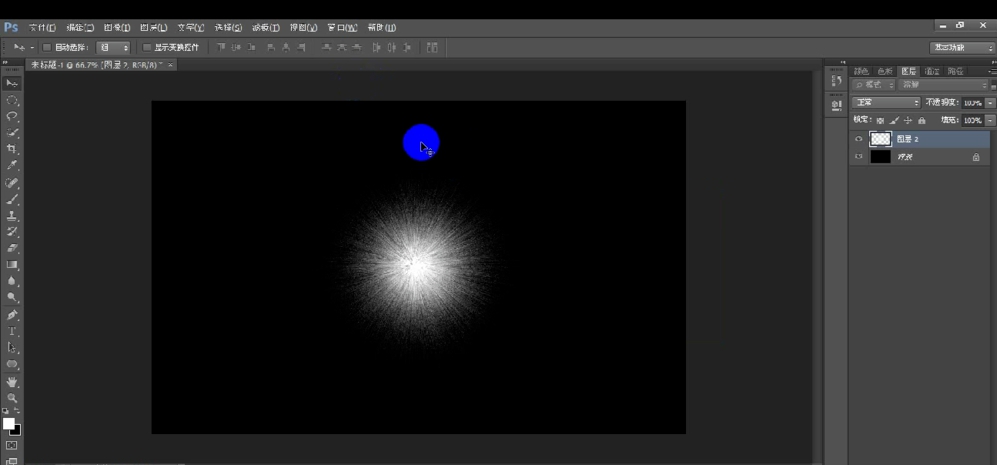
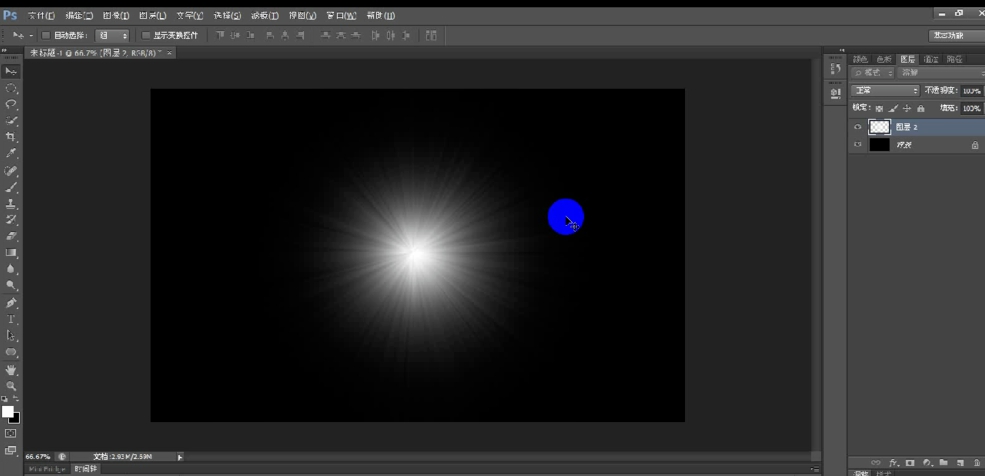
③初步得到的光照射效果并不太理想,可以通过按CTRL+F命令,再次执行径向滤镜命令。重复十几次之后,获得较为理想的灯光发散效果。
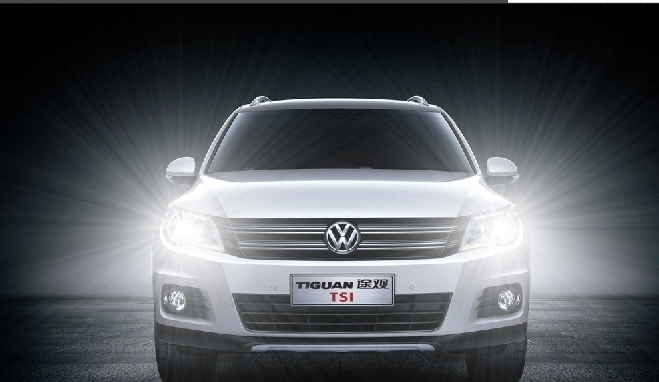
④打开汽车图片,将获得的车灯光照图层拖曳至汽车图像中,调整合适的位置,即可形成较好的车开大灯的效果。
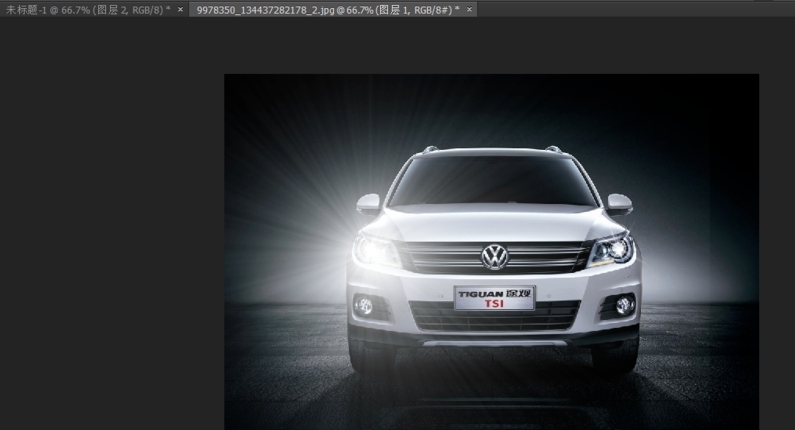
⑤按住ALT键拖曳光照图层即可移动并复制获得另个一个光灯图层效果。
上文就讲解了Photoshop制作汽车射灯效果的方法教程,希望有需要的朋友都来学习哦。
 Adobe Photoshop Express
 imgcook
 Photoshop CC 2019
 photoshop启动界面修改工具(图文教程)
 ps8.0下载中文版免费破解版
 麒麟PS盒子
 PS切图插件(Cutandsliceme)
 如何用Photoshop给古装人像照片添加雪景效果 照片添加雪景效果教程介绍
 photoshop怎么制作风中飞扬的薄纱 photoshop制作风中飞扬的薄纱教程
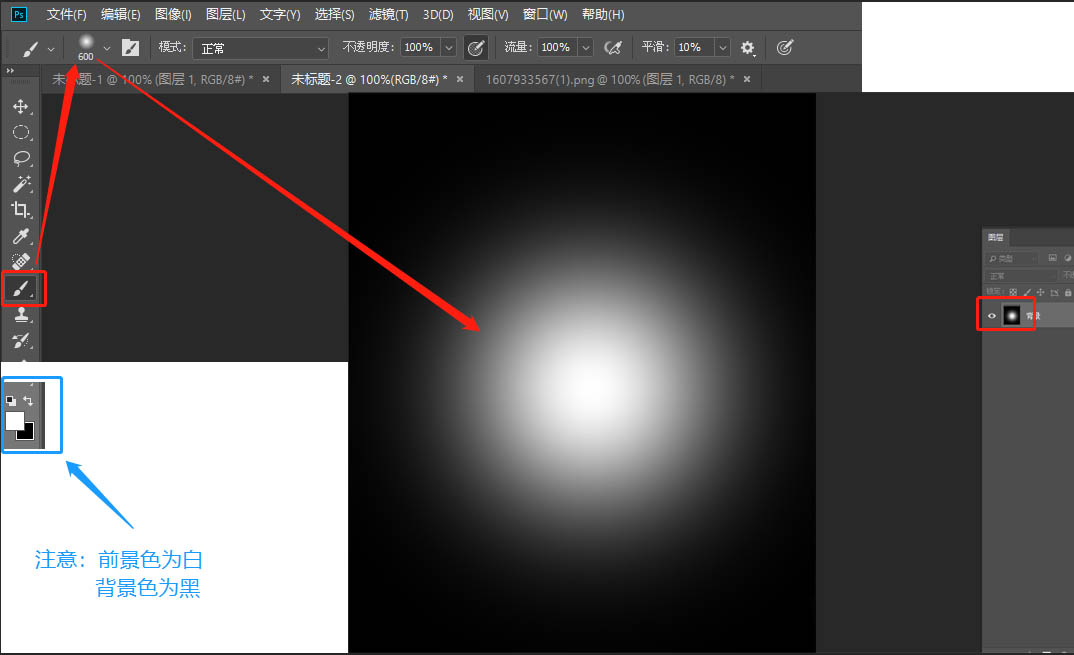 photoshop海报滤镜云彩光照效果怎么做 photoshop海报滤镜数值设计教程