photoshop海报滤镜云彩光照效果怎么做 photoshop海报滤镜数值设计教程
作者:本站作者 人气:不少短视频可以制作海报滤镜云彩光照效果,视频很快数值也有缺少或者一带而过的情况,那么下面小编就为大家详细的介绍一下photoshop海报滤镜云彩光照效果怎么做,大家感兴趣的话就一起来了解下吧!
photoshop海报滤镜云彩光照效果怎么做
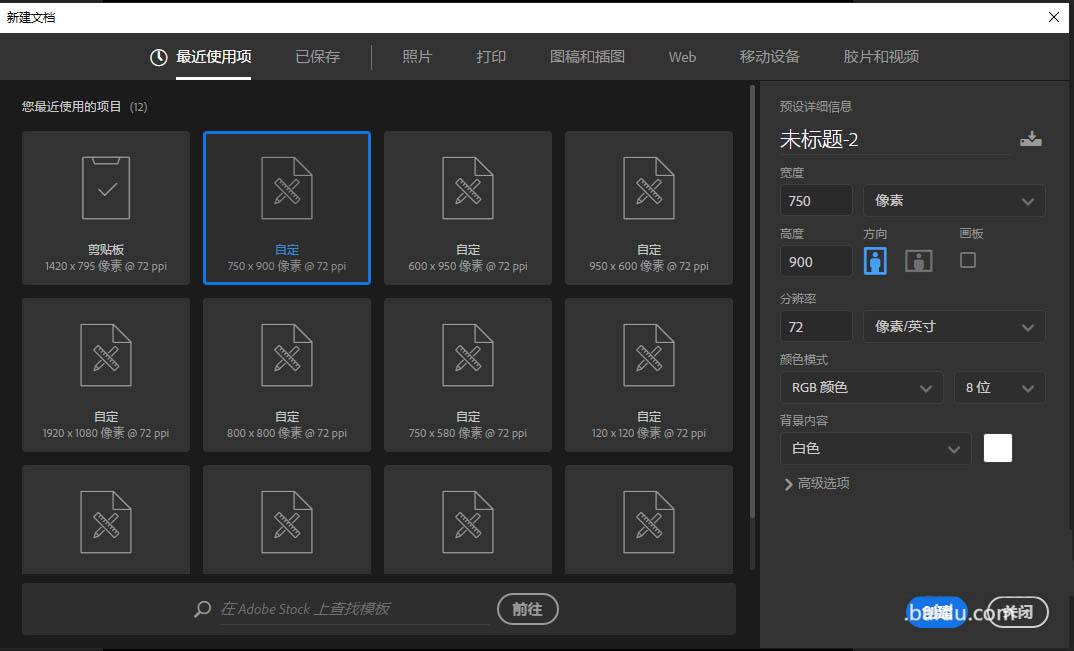
1、新建一个文档如图,宽:750px,高:900px,点击创建
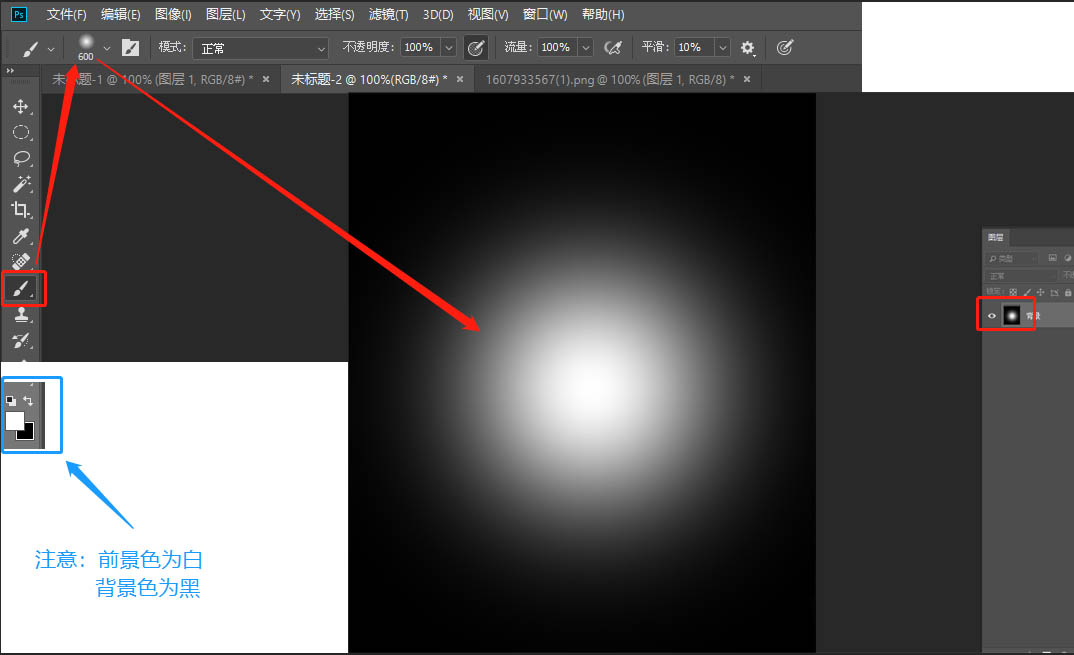
2、第一张图层填充为黑色;然后选择画笔工具,大小600,柔边,白色,100%不透明度;在画布上点一下,效果如图。ps:前景色为白色,背景色为黑色。
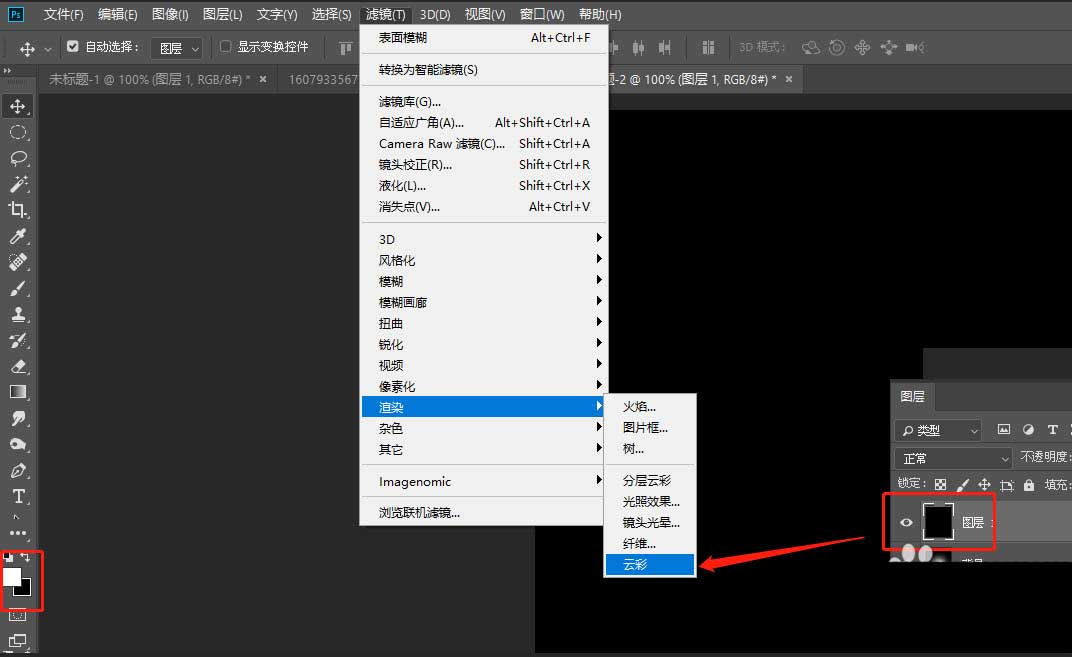
3、新建一个图层,填充为黑色;选中“图层一”然后执行滤镜——渲染——云彩。ps:前景色为白色,背景色为黑色。
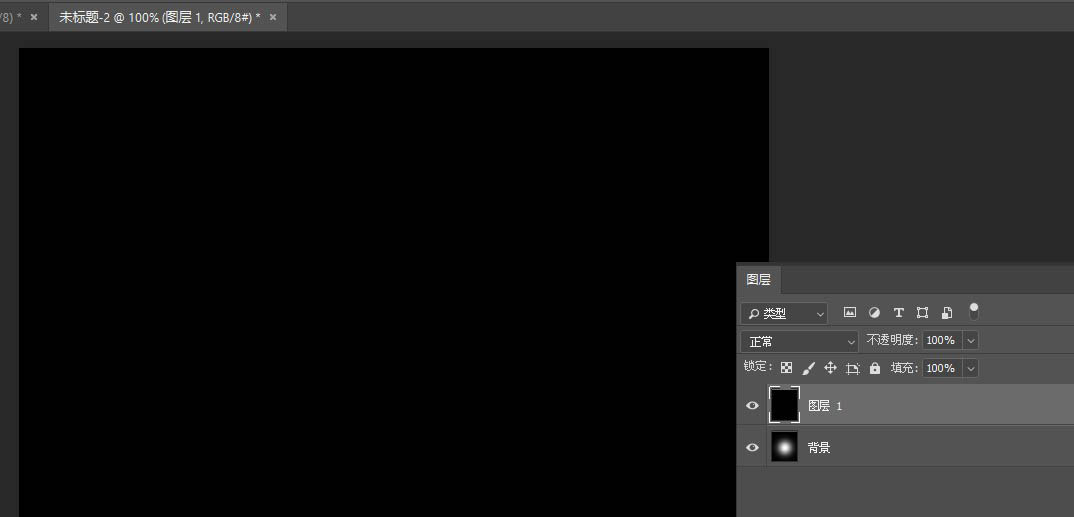
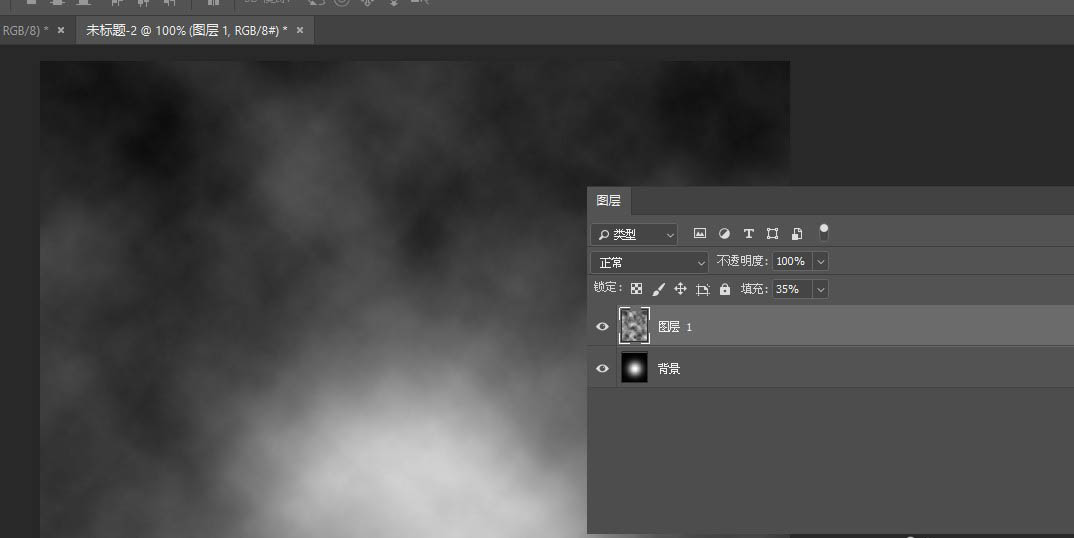
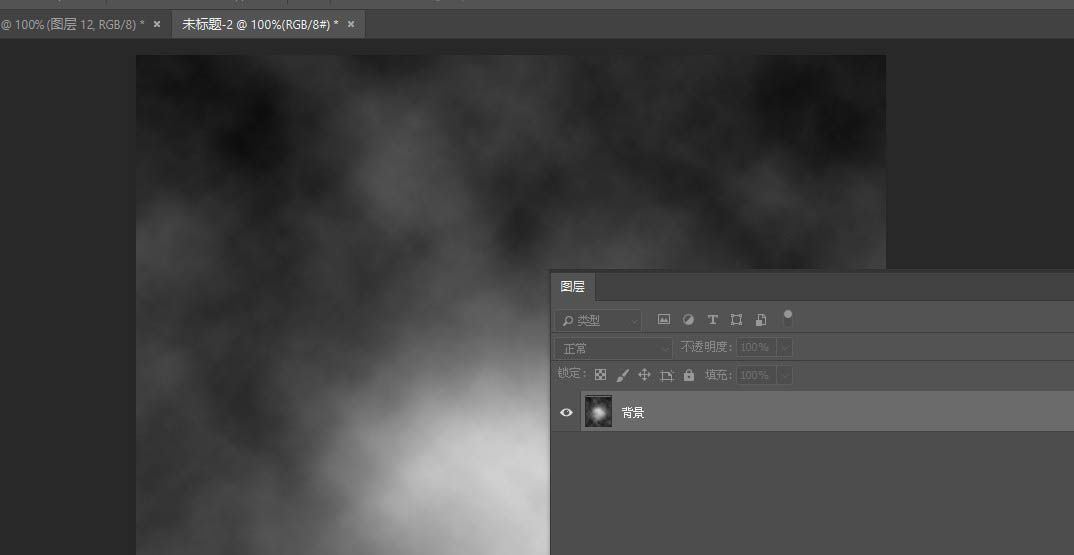
4、调节“图层一”的填充透明度为35%,然后合并“图层一”和背景层
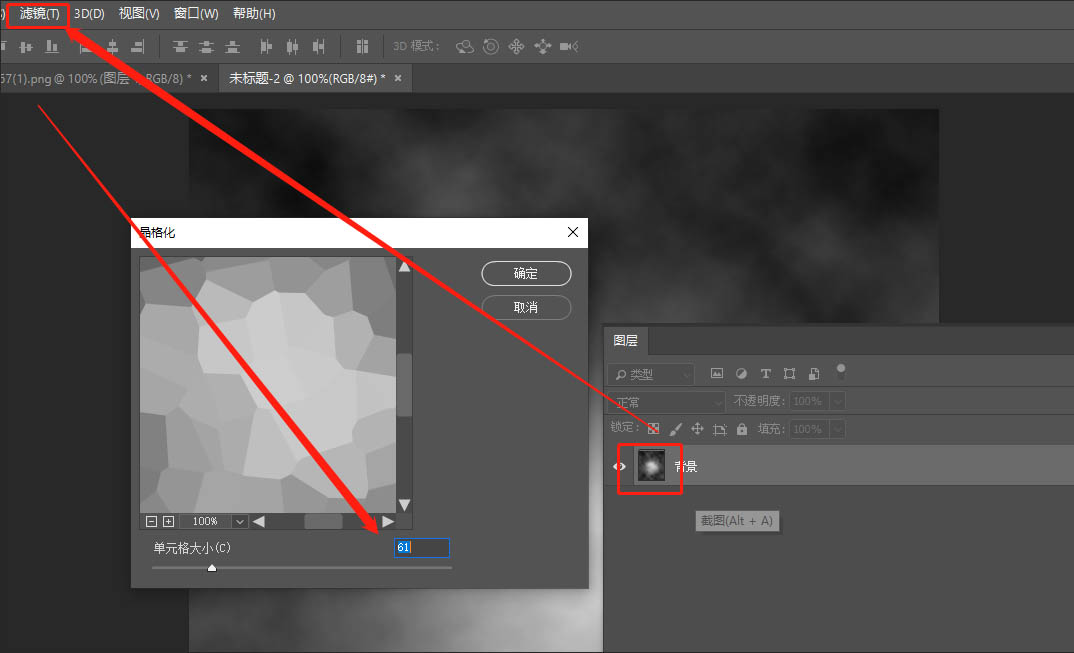
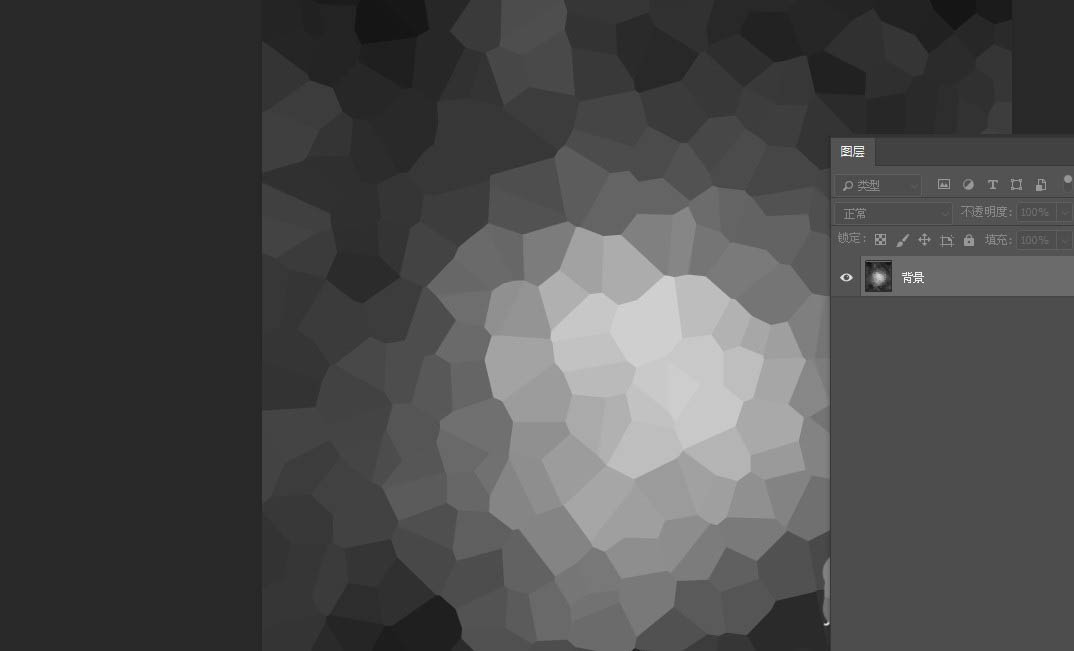
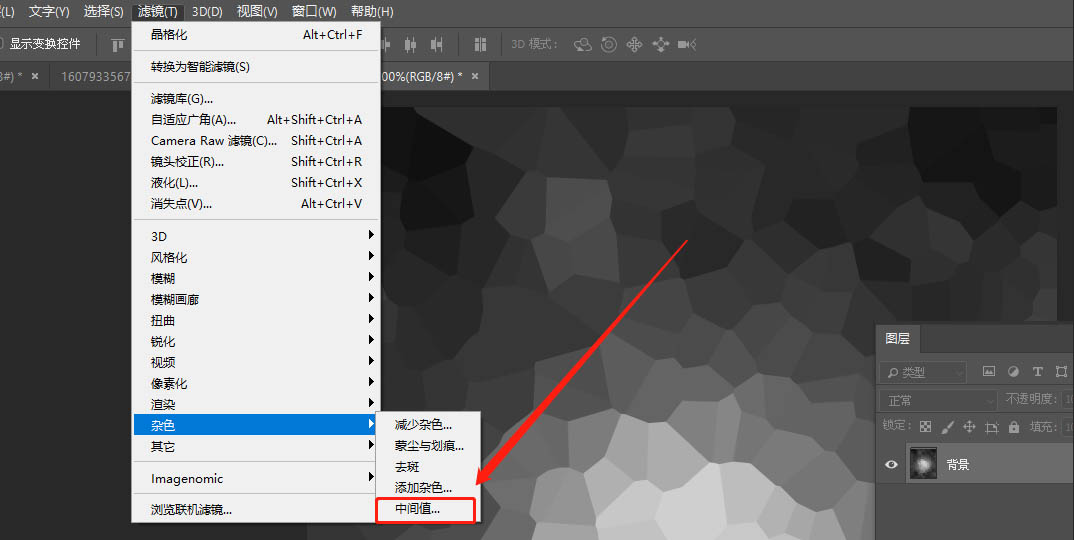
5、对合并后的“背景”层执行:滤镜——像素化——晶格化,单元格大小:61
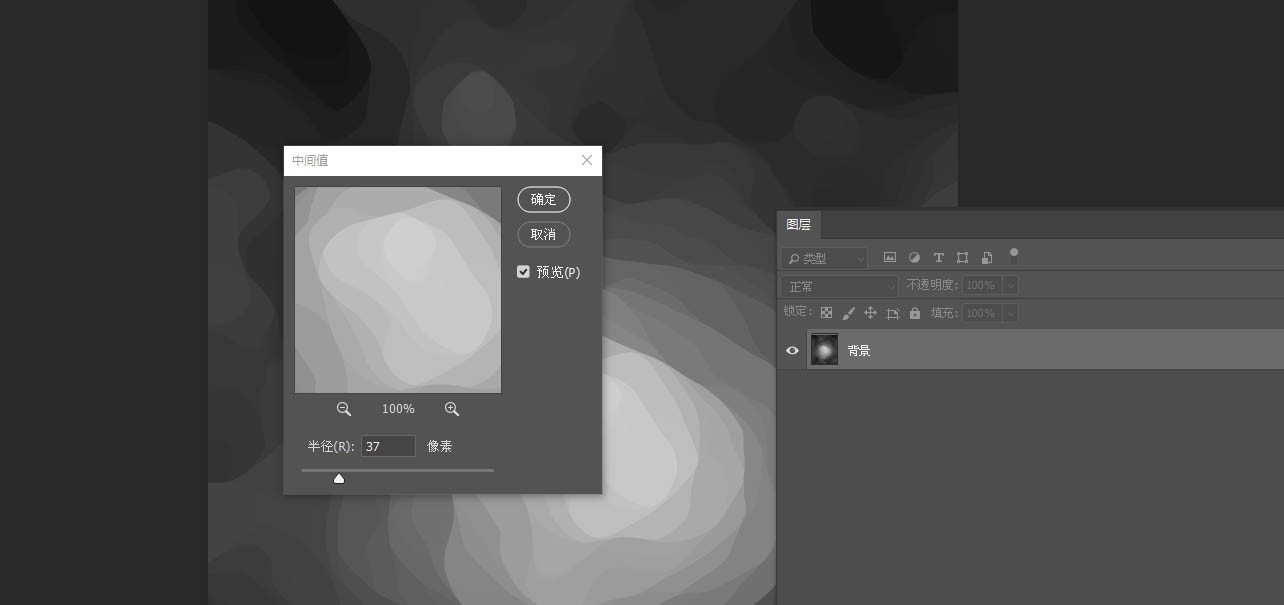
6、继续执行:滤镜——杂色——中间值,半径:37
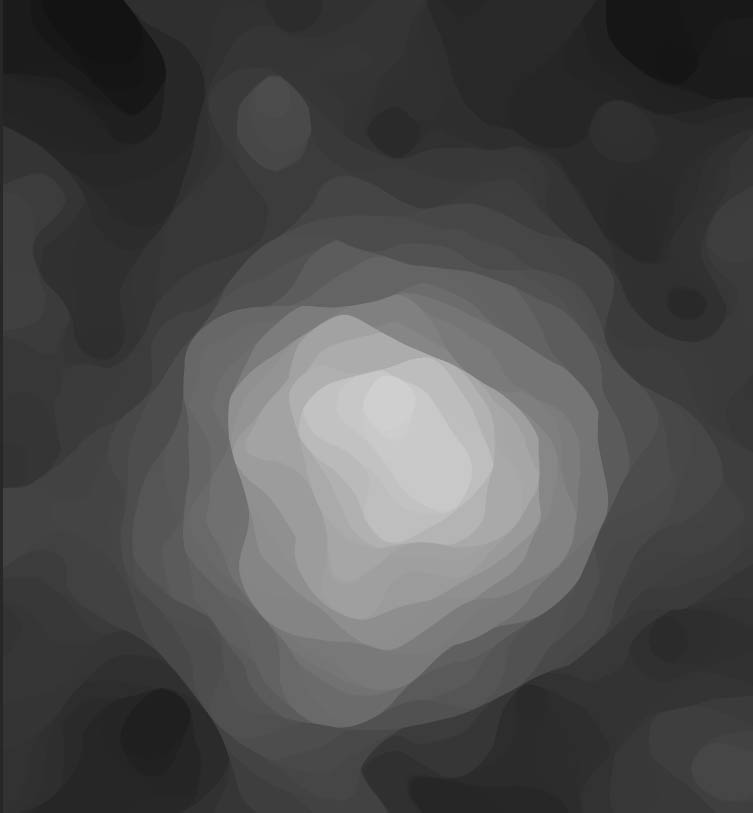
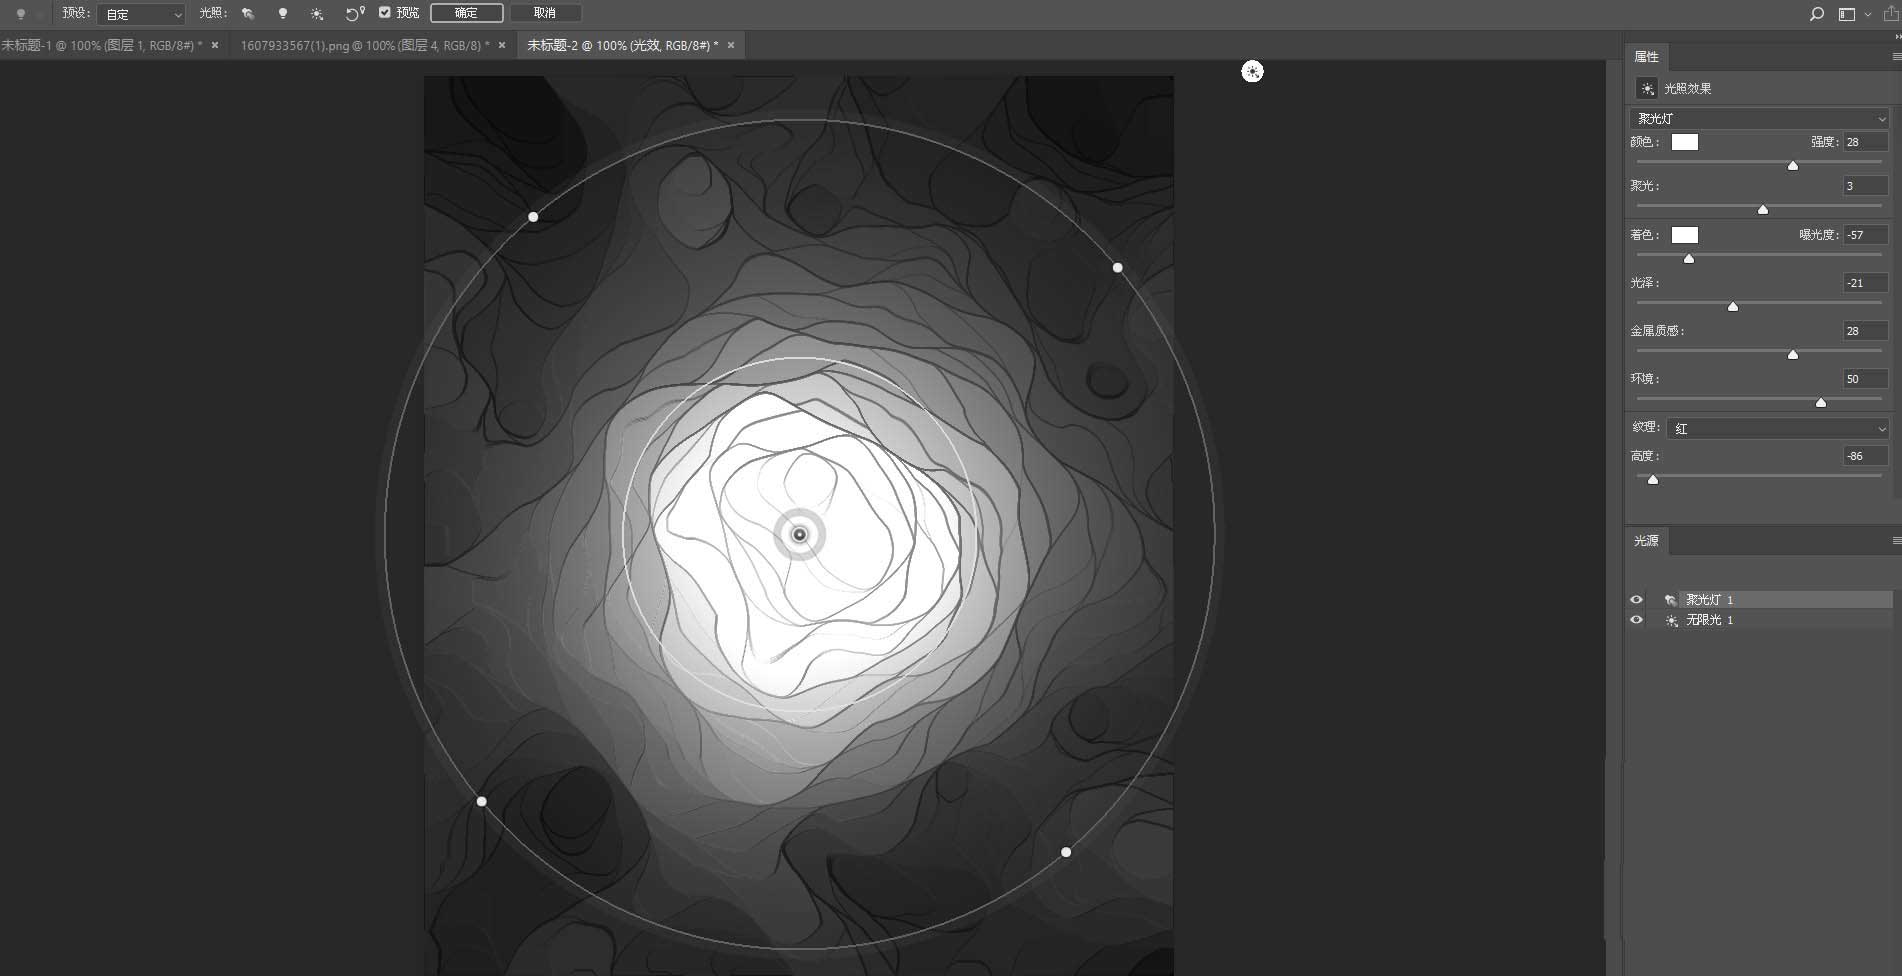
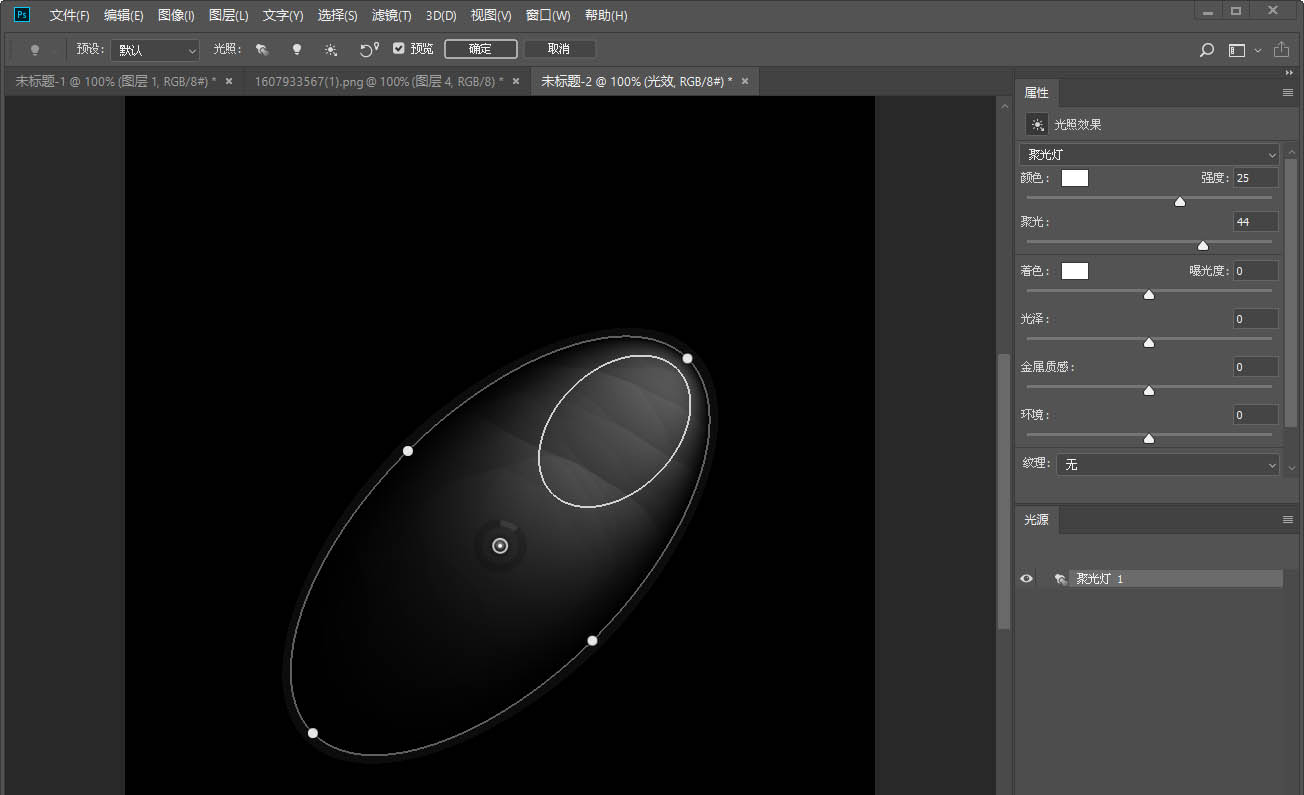
7、关键的步骤来了,也是见证奇迹的关键。执行:滤镜——渲染——光照效果,我的一点击“光照效果”就出现特效,是因为我右边的数值,以前设置过了,如果没有设置过的,是没有这个效果的。
8、当然你可以先安的设置去拉值,当出现初步效果后,在根据你的需要,进行调整。

二 、光照效果数值
1、光照效果,以前没有设置过的,一般打开时是这样的
2、红框标出的三个地方:
预设:默认
预览:勾选
右侧数值

3、主要是右侧数值的调整,
灯源选:聚光灯
颜色:白,强度:36
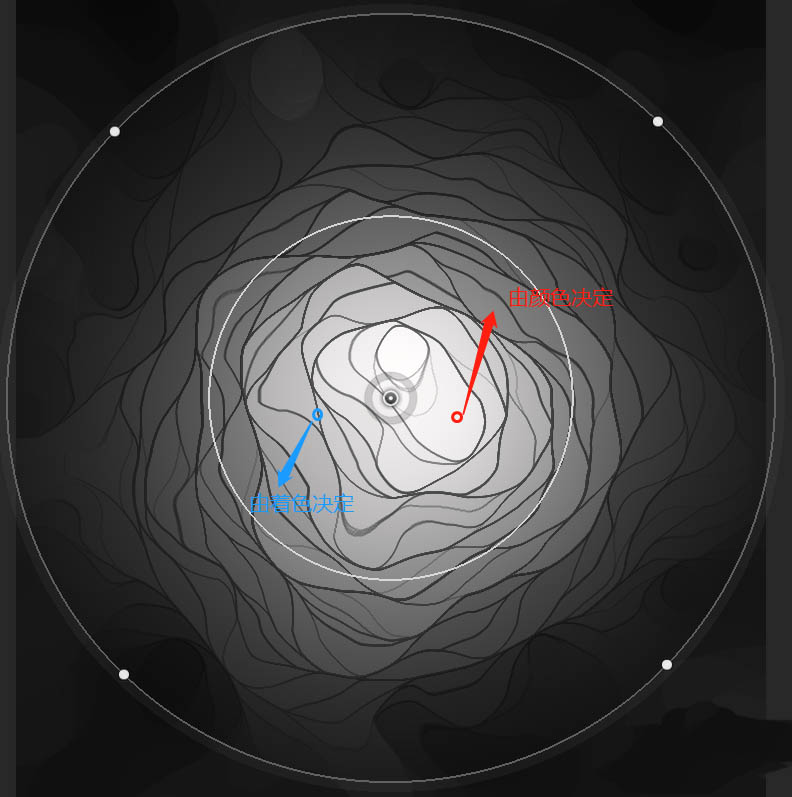
聚光:13(就是小圆的大小)
着色:白 曝光度:-47(小圆光斑的大小)
金属质感:15
环境:43(整体的亮度)
纹理:红(除了“无”都可以)
高度:59(正负都可以,就是线)

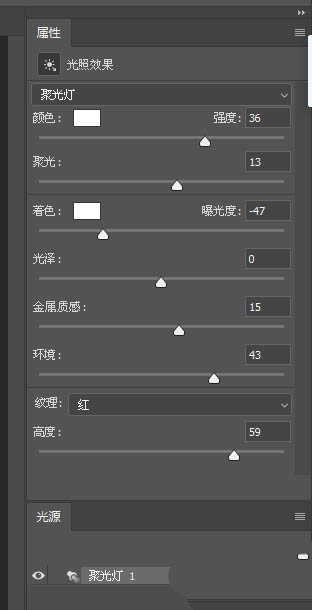
4、还有就是两个颜色的说明,颜色是总体的色调,着色是“高度”的色调。
上文就讲解了photoshop海报滤镜数值设计教程,希望有需要的朋友都来学习哦。
 Adobe Photoshop Express
 imgcook
 Photoshop CC 2019
 photoshop启动界面修改工具(图文教程)
 ps8.0下载中文版免费破解版
 麒麟PS盒子
 PS切图插件(Cutandsliceme)
 如何用Photoshop给古装人像照片添加雪景效果 照片添加雪景效果教程介绍
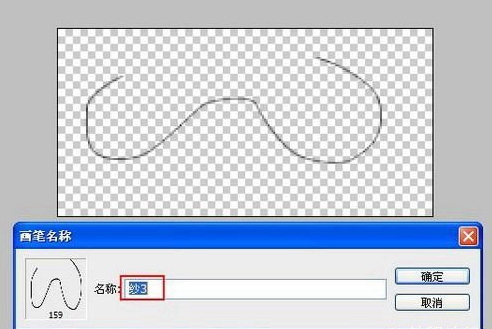 photoshop怎么制作风中飞扬的薄纱 photoshop制作风中飞扬的薄纱教程
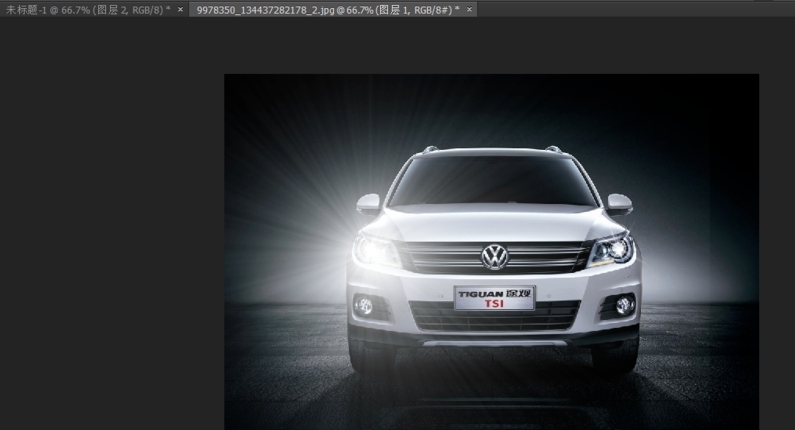 如何用Photoshop制作汽车射灯效果 Photoshop制作汽车射灯效果教程