如何用photoshop抠出带有透明效果的花朵 photoshop抠出带有透明效果的花朵教程
作者:本站作者 人气:用photoshop抠出带有透明效果的花朵,其实用背景橡皮擦就可以完成,下面小编就为大家详细的介绍一下,大家感兴趣的话就一起来了解下吧!
ps抠出带有透明效果的花朵的步骤教程
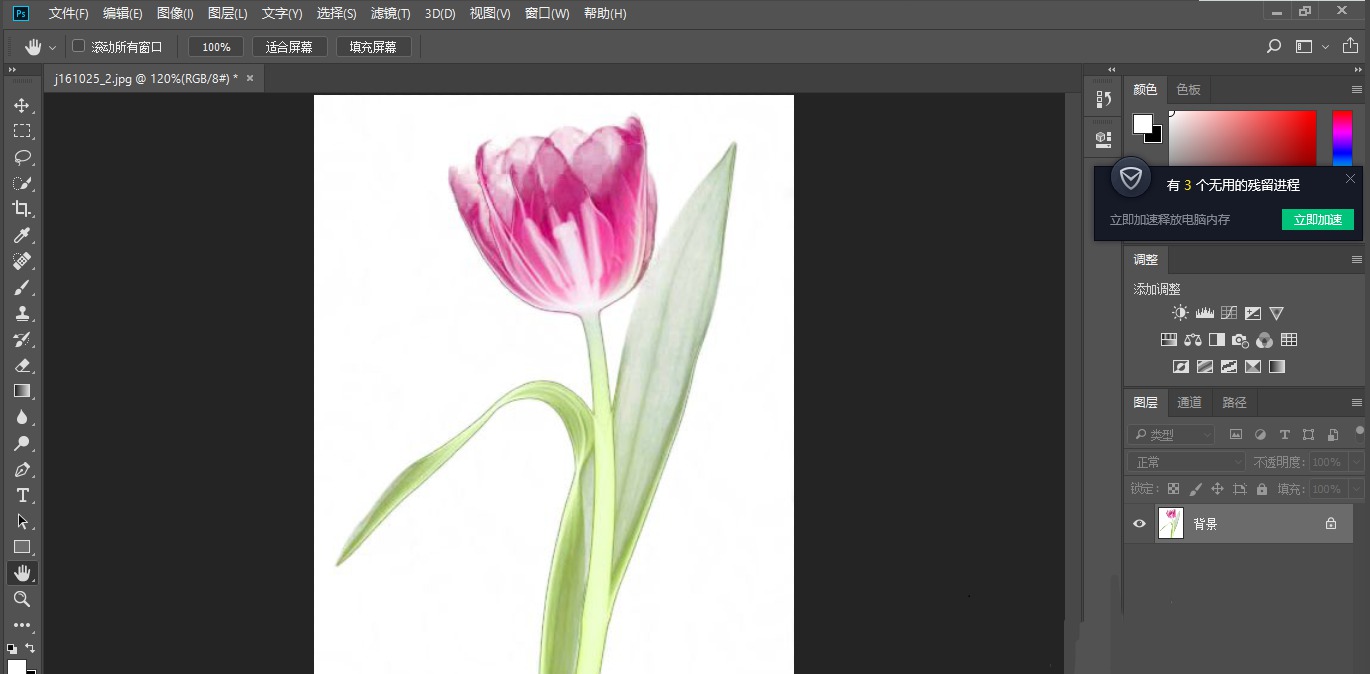
1.打开图片
2.ctrl+j得到图层1
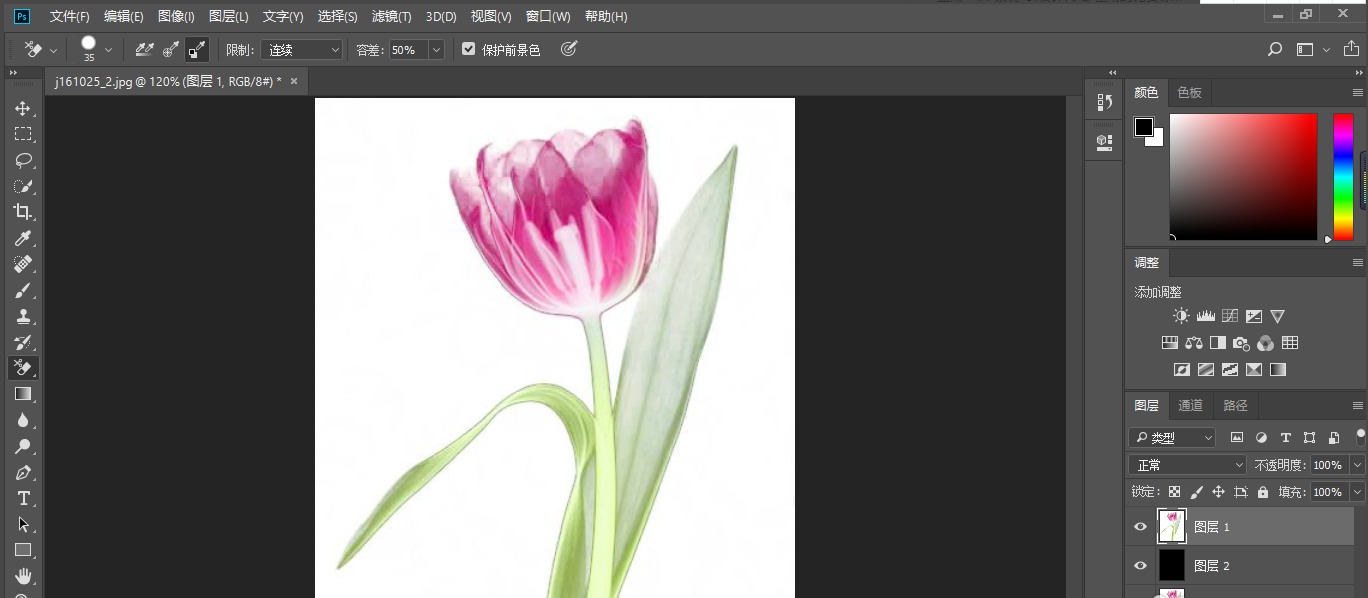
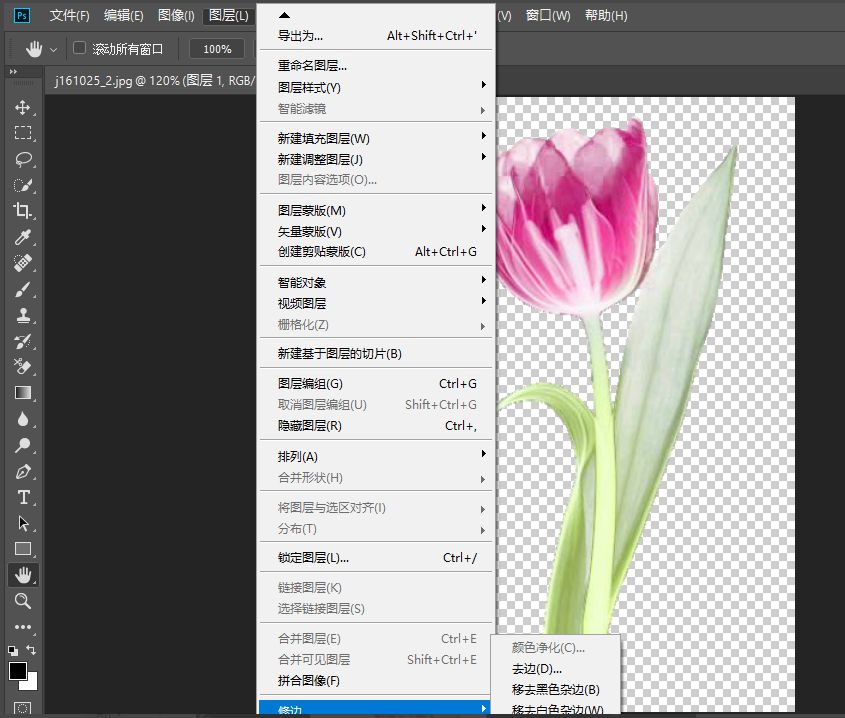
3.创建图层2,放于图层1与背景层之间,填充黑色作为检查效果和新的背景。按图示给出的参数,用背景橡皮擦在图层1里擦吧,注意擦的时候尽量不要松手,直到擦干净为止。
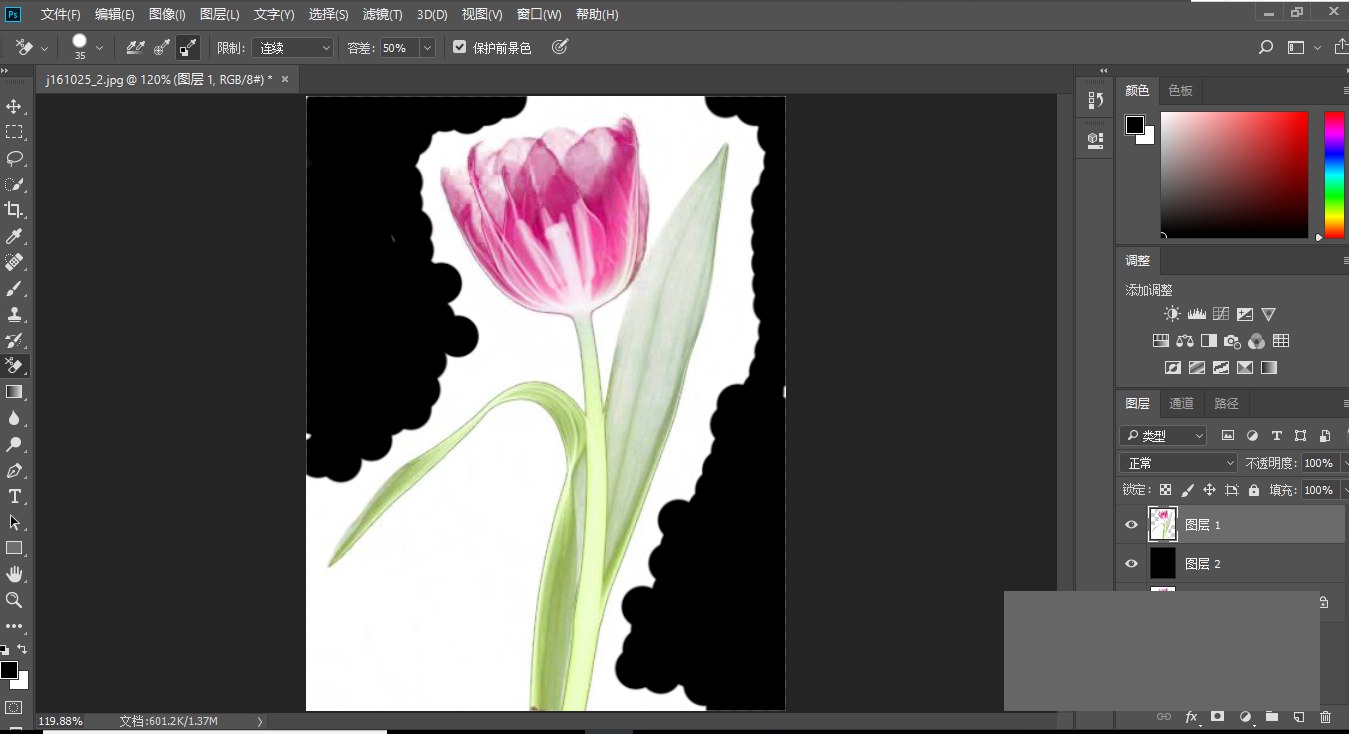
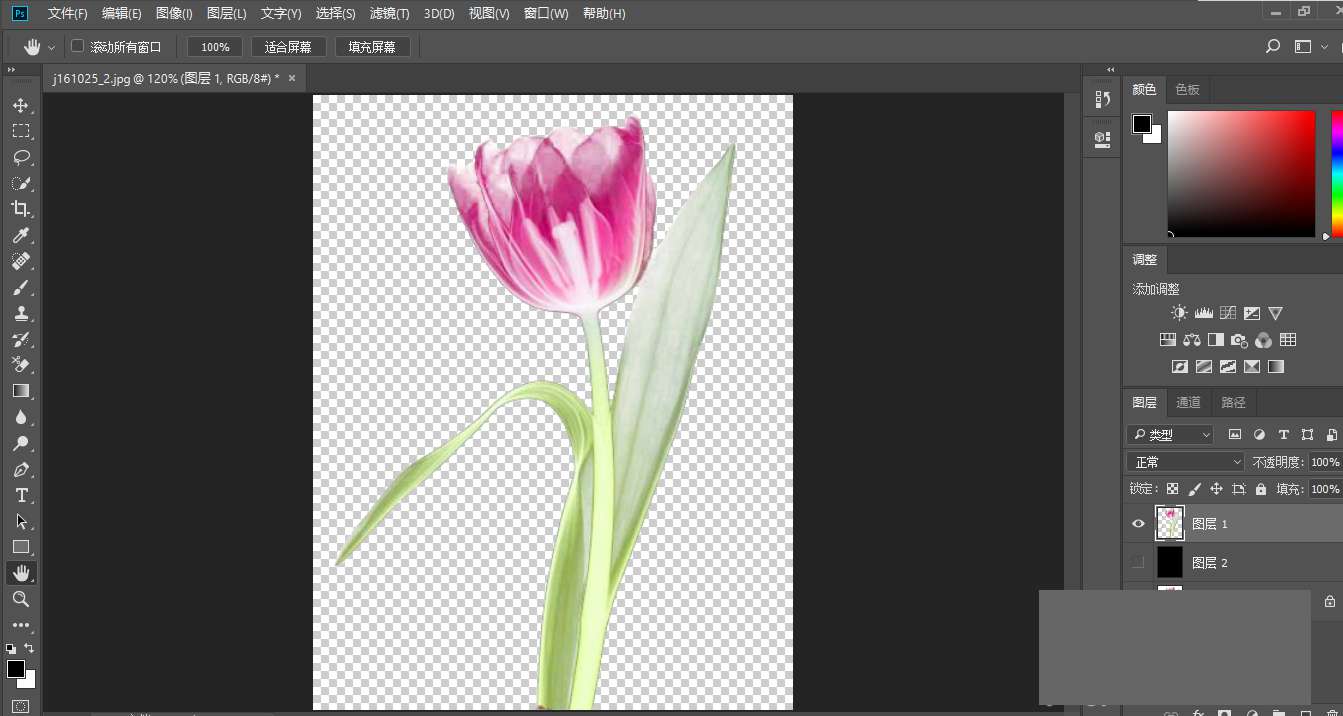
4.边缘杂色清理完后的效果。
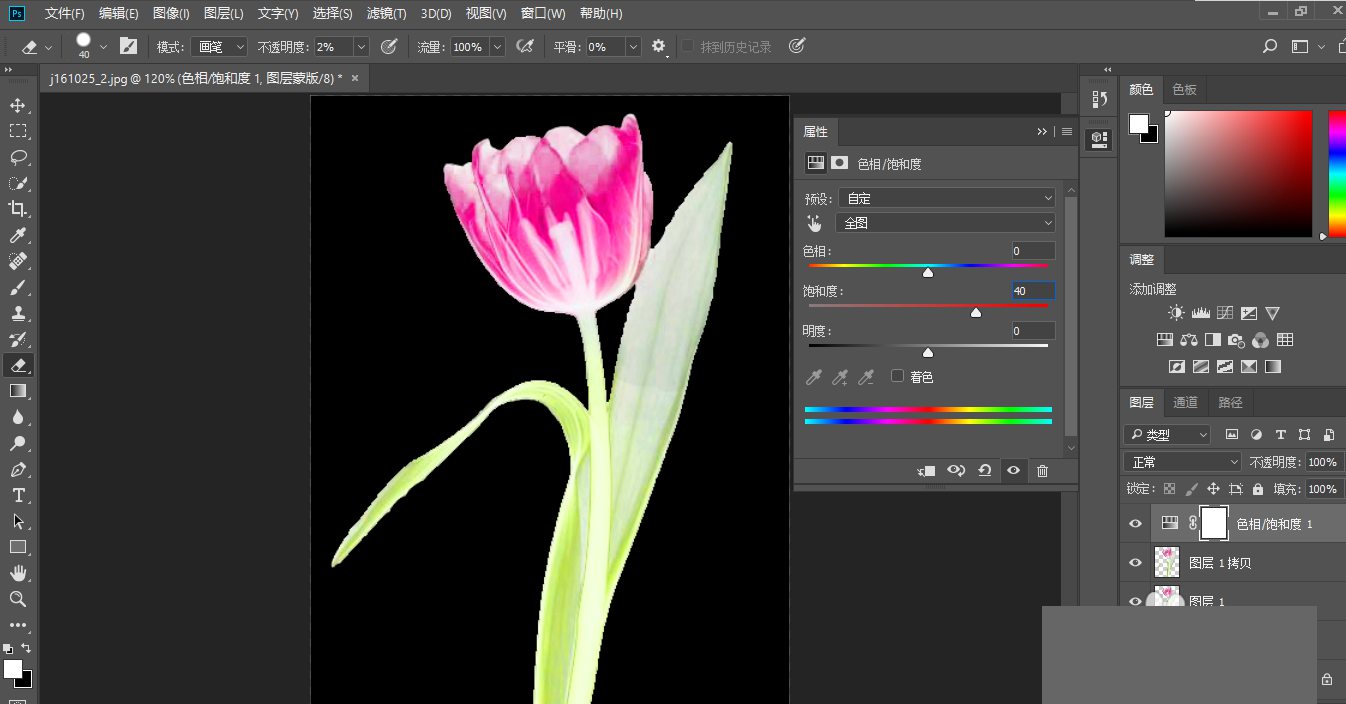
5.ctrl+j复制图层1得到图层1副本,图层的混合模式滤色,不透明度40%,目的是提亮。

6.创建色相/饱和度调整图层,参考参数如图设置,这时一朵漂亮的小花就全部完成了抠图的任务明度40%,目的是提亮。
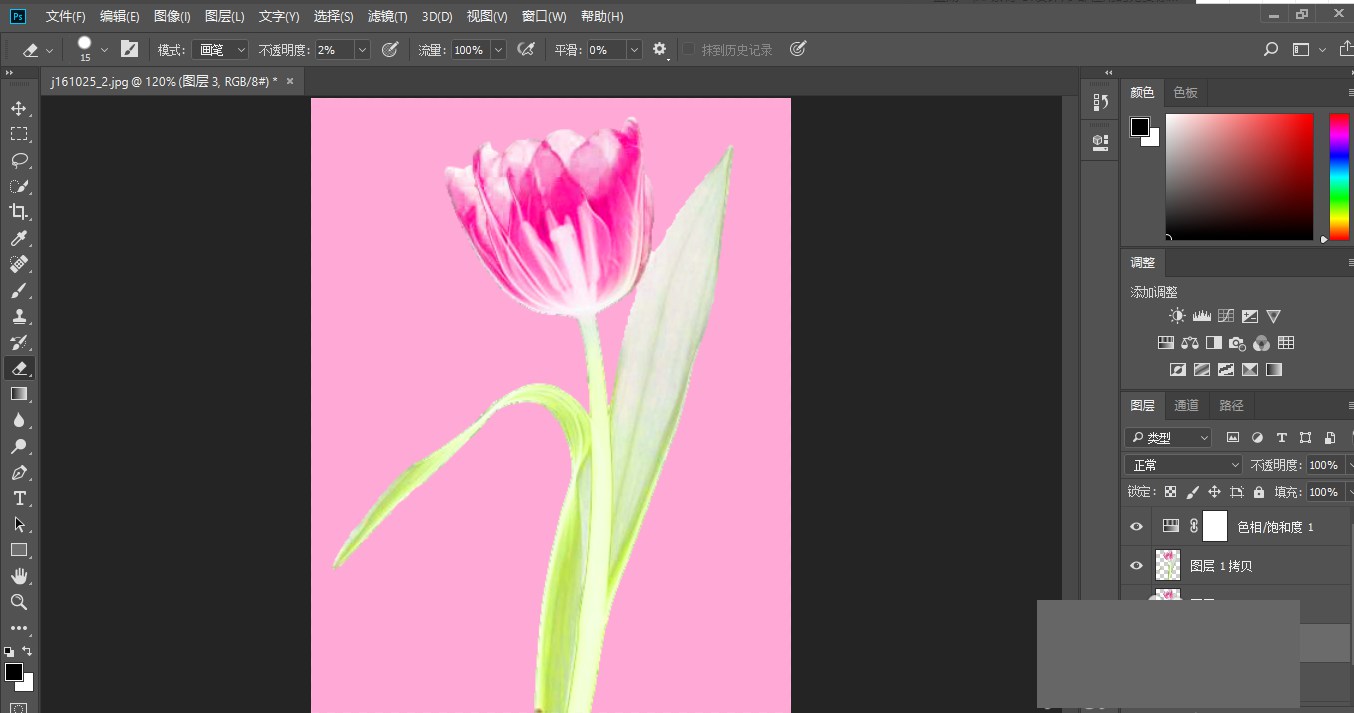
7.填充一个新图层
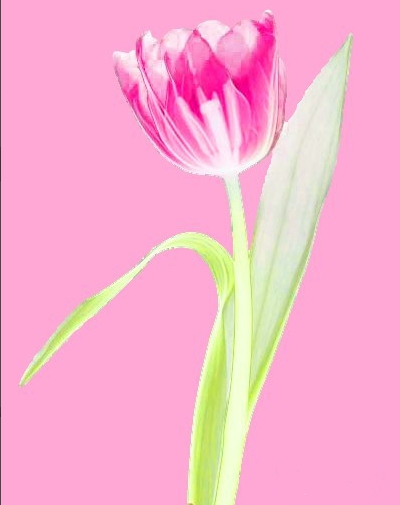
8.看看最终效果如何。
上文就讲解了photoshop抠出带有透明效果的花朵的步骤教程,希望有需要的朋友都来学习哦。
 Adobe Photoshop Express
 imgcook
 Photoshop CC 2019
 photoshop启动界面修改工具(图文教程)
 ps8.0下载中文版免费破解版
 麒麟PS盒子
 PS切图插件(Cutandsliceme)
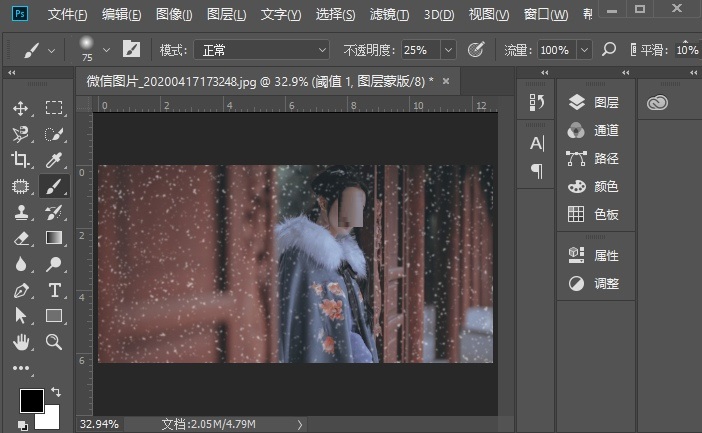 如何用Photoshop给古装人像照片添加雪景效果 照片添加雪景效果教程介绍
 photoshop怎么制作风中飞扬的薄纱 photoshop制作风中飞扬的薄纱教程
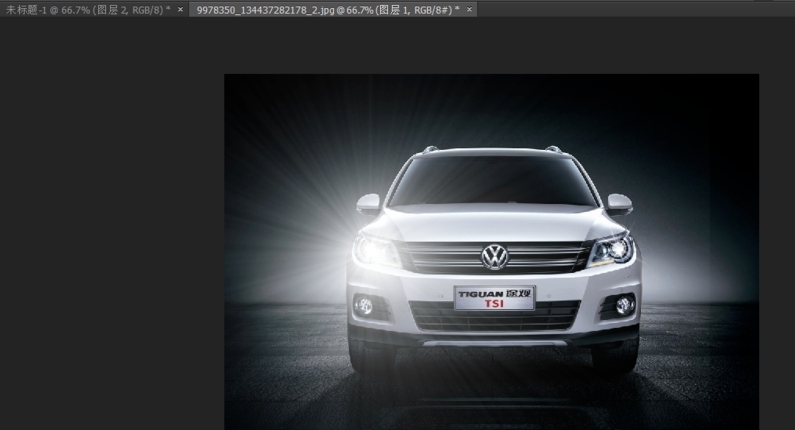 如何用Photoshop制作汽车射灯效果 Photoshop制作汽车射灯效果教程